Showing posts with label renovation. Show all posts

Thursday, September 18, 2014

I have a kitchen - almost

It's getting there...


The cabinets have been installed today but I'm yet to have the oven, sink and cook top fitted...


The stone bench-top gets measured up on Monday


Am I happy?

Oh you betcha!!!


Saturday, July 12, 2014

Here we go.....

The "real" demolition on the kitchen has started this morning

Off came the plaster sheets and cornice...and then Mont got started on the tile behind the cooktop


As you would be fully aware of by now, this kitchen remodel is not a quick process.

No. We take our time at Number 10... Which, to be honest, is a good thing.

If we'd gone at it like a bull at a gate when we first started talking about it, we'd have a different looking beast now to what it will eventually look like.

Sometimes you (I) just have to step back, take things in and consider the possibilities rather than plough ahead and hope for the best

It's a lesson that has taken me some time to learn


Monday, June 9, 2014

Progress

While the kitchen renovation is in "wait" mode - waiting for the final design to come back to us, we had some things that needed doing before anything could be done in the kitchen...that is, remove the old built-in robe in the spare room and get new ones installed.

That's now happened. YEY!!!!!

Out go the old...


...and in come the new...


They look great and actually hold everything in here.


The old robe was just 450 deep...or about 18 inches, when they really should be around 600 deep (24 inches)


The doors look painted right? Like a two-pack paint process. Wrong. They're actually vinyl wrapped doors in a high gloss, bright white and look a million dollars!


Unfortunately in this room though... the cornice I had installed about 12 years ago (Cameo) was no longer available, so we had to choose a new one that was large enough to cover the gap between the ceiling and the wall, which you can see in the first photograph.

Luckily for Natalie, over at In the Night Sky, she was able to do the demolition of the robe in her spare room and save the cornice to use again. Very. Lucky.

So now, the old robe is gone, the new one is in and the new cornice has also been installed.


It's the same one (Rosella) we used for the master bedroom..Very large and plain and easy to paint


Once the old robe was removed and new plaster wall hung, we were left with a large hole in the floor in the kitchen, so MONT's laid some floorboards and also a temporary trap door so he and the plumber can easily gain access under the house


 This is the same section of wall in the spare room


So...that's where we're at right now... Just waiting on our Kitchen guy to come back with the design to make sure it all fits in with what we want and then it'll be all systems go...at least that's what we're hoping. But as we know in all things like this, there will be some delays and some headaches. You can bet on it.

That's what comes with renovating old houses I guess.

Wednesday, November 28, 2012

Plaster

It's all happening here...


Plaster was delivered this morning before 7am....and the plasterer was here a few minutes later...


...and this is the end result...


All the walls and ceiling were insulated to within an inch of their lives...

The plaster was hung and then fixed off...and all that we need to do now is wait for it all to dry and then it can be sanded and then I can PAINT!!

I think the cabinet maker's here on Friday...fingers crossed.


Wednesday, September 12, 2012

Studio

I have to say, that progress on the studio, while a little slow in the past couple of weeks, looks like stepping up through September.


Last weekend, MONT started on the side wall frame. He just used up timber we already had lying around. The plan is to use up as much as we have and only buy what's absolutely necessary.


This week, MONT's mate, (Mr P the Builder), will be here to measure up for the rest of the room and have a look at the windows (second hand) that we have in the shed and the placement of the door, to make sure what we want is do-able.

The side fence, which is almost on its last legs, will be pulled down and the posts replaced. While that's happening, MONT and Mr P will construct the wall. The top part will be weatherboards, while the lower section (which won't be seen)  will be corrugated roofing metal, so it's not going to need painting. EVER!

So, it's all happening.

I'll share a couple of eBay bargains I've found with you later in the week. Gorgeous they are!


Monday, August 20, 2012

Studio Progress

It's well on it's way!

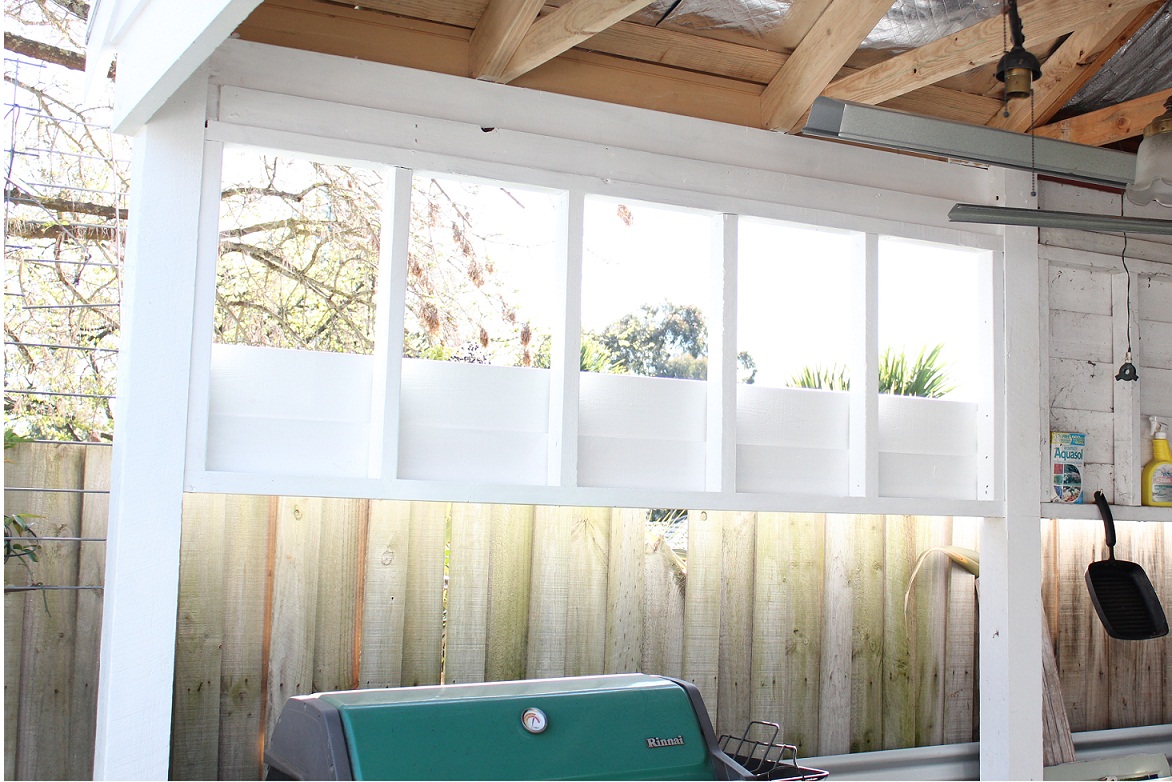
The posts are now in to hold up the extension of the roof.


Next weekend, work will begin on the roof itself.


The room will take up two bays of the carport, which makes it just over 4 metres long. We've been talking about the placement of the windows and the all important door, which has caused us a little bit of a problem because we need to have an entry that won't allow water in. You see the frame/walls will be built on top of the paving, so a special water proofing membrane of some sort will have to go under the frame to stop rainwater seeping in and making the interior floor wet.

We talked about placing the doorway at the back of the room, from what will be MONT's workroom/storage shed...but we've now scrapped that and the door will be placed right near where that creamy coloured planter box will be.

One window will look straight down into the driveway...the other will be on the side wall looking into the yard.

Very exciting....but it's still a long way off from being completed. It'll be interesting to see just how long it's going to take from go to whoa.

Monday, August 13, 2012

It's happening....

My new studio/sewing room is on it's way...

Not sure when it'll be finished. These things take time as MONT tells me. Regularly!

He dug out the first post hole back in April


Then a couple of weeks ago, he dug the other one on the other side and started pruning back the ornamental grape vine and wisteria.....it's over where that blue lidded bucket is near the fence


Then on Saturday, he started on the end of the carport so we can begin the extension


The wisteria's tied to the clothes line until the posts and frame goes up, then the fence will come down (temporarily) so the side wall can be constructed. That's the other thing...I'm going to lose part of my line so we'll have to find another spot for one. I can't be without a clothes line!

The finished room will measure about 4.5 metres by 3.6 (approx 15x12 feet) and it will have a wall of floor to ceiling cupboards. You cannot have enough storage! The walls will be painted white, or slightly off white to blend in with the sandstone floor and i'll get a nice rug to make it feel cosy.

On the outside, the weatherboards will be white, like the rest of the house. We've got a couple of (second hand) windows to put in and now the only thing that has to be worked out is where to locate the door.

The whole idea is to have all of my sewing and crafty stuff out there so it isn't cluttering up the spare room, which is an absolute mess at the moment because I don't have a lot of storage for all my bits and pieces

I quite like this idea for "small stuff" storage...nice shallow drawers with partitions so everything is easy to find. Perfect for cottons and trims and pins and all the little stuff that goes missing in larger drawers.


...and this is nice too...perfect for all the knitting patterns and my magazines.


I'm on the look-out for a skinny table to hold the sewing machine and overlocker and I think I've got just about everything else I need.

We hope to have it finished before Christmas...but you know...anything can happen between now and then...so we'll play it by ear.

So there you have it...this is what's been consuming me these past couple of weeks. Can't wait to keep you updated on progress.

I haven't given credit for the last two photos because I'm not sure where they came from. If you do, please let me know so I can give credit where it's due.

Monday, May 7, 2012

Study reveal

The study is almost finished so I thought I'd post some photos for you

This is my new workspace.


Still a bit messy but that's because I took the photo before I disposed of a lot of the packaging from the new equipment and before I tidied up all the cables

Prior to the plasterer arriving, MONT put in extra noggins to help strengthen the wall so we could put brackets up without the chance of them falling off....


The wall was also insulated before the plaster went up, even though it was an internal wall. In fact we've insulated all internal walls at Number 10.

looking into the study from the back hallway
Plaster is up and extra power points and wiring put in....That pipe you see is flexible conduit, so we can easily pull wires through without damaging the wall.


The new window, all painted


My new workspace...


I can't wait till I work out how to operate everything! Steep learning curve here at Number 10

It's still a bit of a work in progress....I still have to paint the other half of the room and I've got someone coming out this week to measure up for a small blind on the window; probably a slimline venetian...anyone got other ideas or suggestions? I was going to make a curtain but thought a blind would make it feel a little more "officey", seeing MONT will be using the room as well.

So there you have it. Half the study completed....and the other half will be done once the floor in the back hallway hardens for a couple of weeks. It's fine to walk on but I don't want to start putting anything really heavy on it until I know it's completely hardened

Sunday, May 6, 2012

Here we go - back hallway reveal

At last I have time to get some photos out for you

The back hallway now looks like a hallway and not a demolition site.

It's just about finished... just some cosmetic bits and pieces to do


We started off with the back door being moved, the study window being removed and a smaller window installed.

Now it looks like this......


The window has been painted since I took this shot.


The back hallway during the transformation


Partial demolition to full demolition


I finished the painting and the floor man arrived to work his magic on the second hand boards


It's been a rather long process, much longer than we anticipated because the plasterer held us up for over a week and the builder took a little longer to get here than expected, although he was finished his bit in just one day...but we think it's been worth the wait.

The study is also looking pretty good and I'll have some photos for you soon.

Tuesday, April 10, 2012

You can't buy character

The builder was back this morning to lay the new-old floor in the back hallway

We used some second hand boards we had left over from the bedroom renovation


I think they'll come up a treat!

Whenever we've extended or renovated Number 10, I've always bought second hand floorboards. I guess I originally thought that the house was old so old boards would be a better "fit". But I also like the idea of using pre-loved things instead of just creating a need for more "new stuff". I mean, the boards will still look good once they're sanded and polished...the old nail holes will be filled and everything will be just fine...it's flooring after all...and as we've come to say around here a lot lately whenever something isn't quite "perfect"...."You can't buy character".


The plasterer will be here next week, then I get to paint the walls and hopefully the floor sanding man will be able to fit my little job in soon after...

Monday, April 9, 2012

Work continues...

The back hallway/study remodel didn't stop over the Easter weekend

Mont put some new cabling and wires into the study now that he had the opportunity with the plaster gone and the studs exposed.


He also nailed in extra noggins, so we had more strong points in the wall for shelving and brackets.


It's still a bit of a mess...


But there have been plenty of helpers on hand


The back wall where the door was moved to has now been painted...but not before Mont replaced a couple of the weatherboards the builder had put up.

I think the rule is pretty simple...if you wouldn't tolerate a certain standard at your own home, you can be pretty sure no-one else would think it's acceptable either.

The builder had used up some short lengths of the boards rather than buy a new one. The result looked pretty crappy.


So it was changed...and painted and it's now lookin' mighty fine.


Much better!


The floor gets done Tuesday

Woo Hoo!.

Thursday, April 5, 2012

Getting there

Well, the first day of the renovation of the study and rear entry at Number 10 is well and truly over and a lot was achieved

We started with this....


and this, from the inside...


Then the weatherboards were removed


...and the study window was removed - View from the study inside


Then the door was removed


...and then moved OUT.


Still some trim to fix up and some painting of course, but what do you think?

It's growing on me.

The builder will be back on Tuesday to finish things off...I'll post some more pics tomorrow, once I've cleaned up a bit